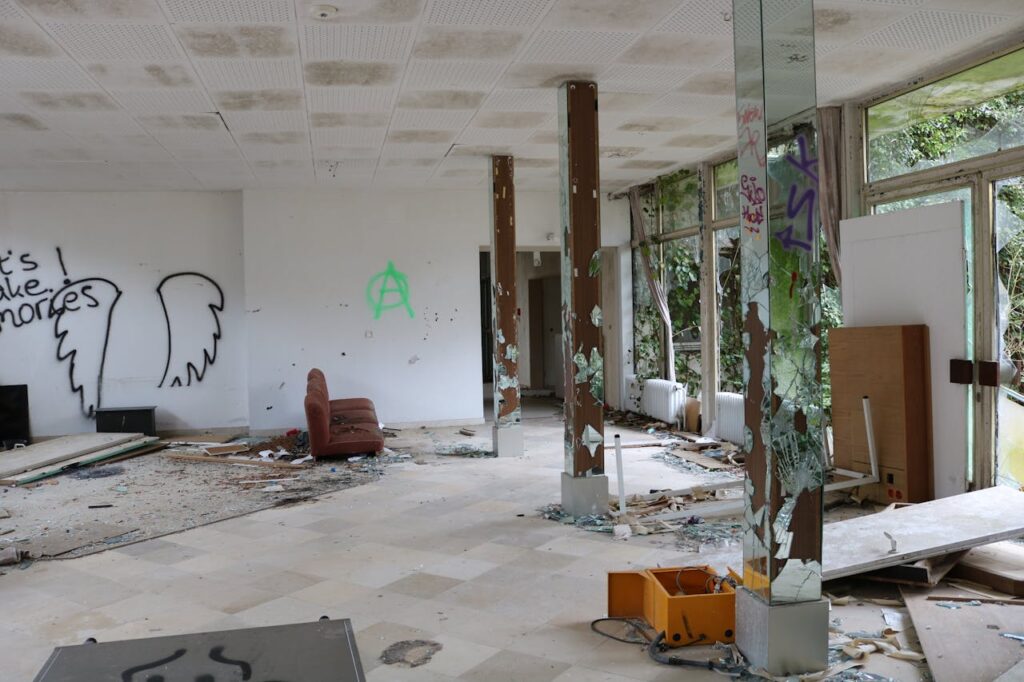
Water damage can strike without warning, whether from a burst pipe, a leaking roof, or a natural disaster. The aftermath can be overwhelming, leaving behind soaked walls, ruined flooring, and the looming threat of mold. While the instinct may be to start cleaning immediately, professional water damage restoration by water mitigation company follows a precise, methodical process designed to ensure safety, prevent further damage, and restore the property to its original condition. Understanding each step of this process can help homeowners make informed decisions and respond effectively in a crisis.
Step 1: Emergency Contact and Initial Response
The restoration process begins the moment a homeowner contacts a professional restoration company. Time is critical, and most reputable services offer 24/7 emergency response. During the initial call, the restoration team gathers essential information about the nature and extent of the damage. This allows them to prepare the appropriate equipment and personnel before arriving on-site. Once on location, the team conducts a rapid assessment to identify immediate hazards and determine the best course of action.
Step 2: Inspection and Damage Assessment
A thorough inspection is the foundation of any successful restoration. Technicians evaluate the affected areas to determine the source of the water, the category of water contamination, and the extent of the damage. Water is classified into three categories: clean water from sources like broken pipes, gray water from appliances, and black water from sewage or floodwaters. Each category requires a different level of care and sanitation. Using moisture meters, infrared cameras, and hygrometers, professionals identify hidden moisture behind walls, under flooring, and in ceilings.
Step 3: Water Extraction
Once the assessment is complete, the next priority is removing standing water. High-powered pumps and industrial-grade vacuums are used to extract water quickly and efficiently. This step is crucial to prevent further saturation of building materials and reduce the risk of mold growth. In severe cases, thousands of gallons of water may need to be removed. The faster this step is completed, the better the chances of salvaging structural elements and personal belongings.
Step 4: Drying and Dehumidification
Even after visible water is removed, moisture can remain trapped in porous materials like drywall, wood, and insulation. Restoration professionals deploy air movers and dehumidifiers to accelerate the drying process. These machines are strategically placed to create airflow and draw out moisture from hard-to-reach areas. Technicians monitor humidity levels and adjust equipment as needed to ensure thorough drying. This phase may take several days, depending on the severity of the damage and the materials involved.
Step 5: Cleaning and Sanitizing
Water damage often brings contaminants into the home, especially in cases involving gray or black water. Once the area is dry, the next step is cleaning and sanitizing all affected surfaces. This includes disinfecting walls, floors, and furniture to eliminate bacteria, mold spores, and odors. Specialized cleaning agents and antimicrobial treatments are used to ensure a safe and healthy environment. Personal items such as clothing, documents, and electronics may also be cleaned using specialized techniques like dry cleaning, ultrasonic cleaning, or freeze-drying.
Step 6: Mold Remediation (If Necessary)
If mold is detected during the restoration process, immediate remediation is required. Mold can begin to grow within 24 to 48 hours of water exposure and poses serious health risks. Restoration teams isolate the affected area, remove contaminated materials, and treat surfaces with antifungal agents. Air scrubbers and HEPA vacuums are used to capture airborne spores and prevent further spread. Mold remediation is a highly regulated process that must be handled by certified professionals to ensure safety and compliance.
Step 7: Structural Repairs and Restoration
The final phase of the restoration process involves repairing and rebuilding damaged areas. This may include replacing drywall, installing new flooring, repainting walls, and restoring cabinetry. In some cases, major reconstruction may be necessary, especially if the water damage was extensive. Restoration professionals work closely with homeowners to match materials and finishes, ensuring that the repaired areas blend seamlessly with the rest of the home. The goal is to return the property to its pre-loss condition—or better.
Step 8: Final Inspection and Documentation
Before the job is considered complete, a final inspection is conducted to ensure that all work meets industry standards and the homeowner’s expectations. Moisture levels are rechecked, and any remaining concerns are addressed. Detailed documentation of the entire process, including photos, moisture readings, and repair records, is provided to the homeowner and insurance company. This transparency helps facilitate insurance claims and provides peace of mind that the restoration was done correctly.
Conclusion: Trust the Process, Reclaim Your Space
Water damage can be a traumatic experience, but with the right professional help, recovery is not only possible—it can be transformative. By following a structured, step-by-step process, restoration experts ensure that every aspect of the damage is addressed, from initial extraction to final repairs. Understanding this process empowers homeowners to act quickly, choose the right professionals, and navigate the path to restoration with confidence. Elevate your next renovation project with the trusted craftsmanship and decades of experience found at Zicklincontracting.com.


Leave a Reply