


Direct-to-Film (DTF) printing delivers stunning, vibrant apparel graphics only when the hidden chemistry works perfectly behind the scenes. While many operators hyper-focus on printheads and ink configurations, it is actually the adhesive powder that dictates the structural bond and long-term wash durability of your garment.
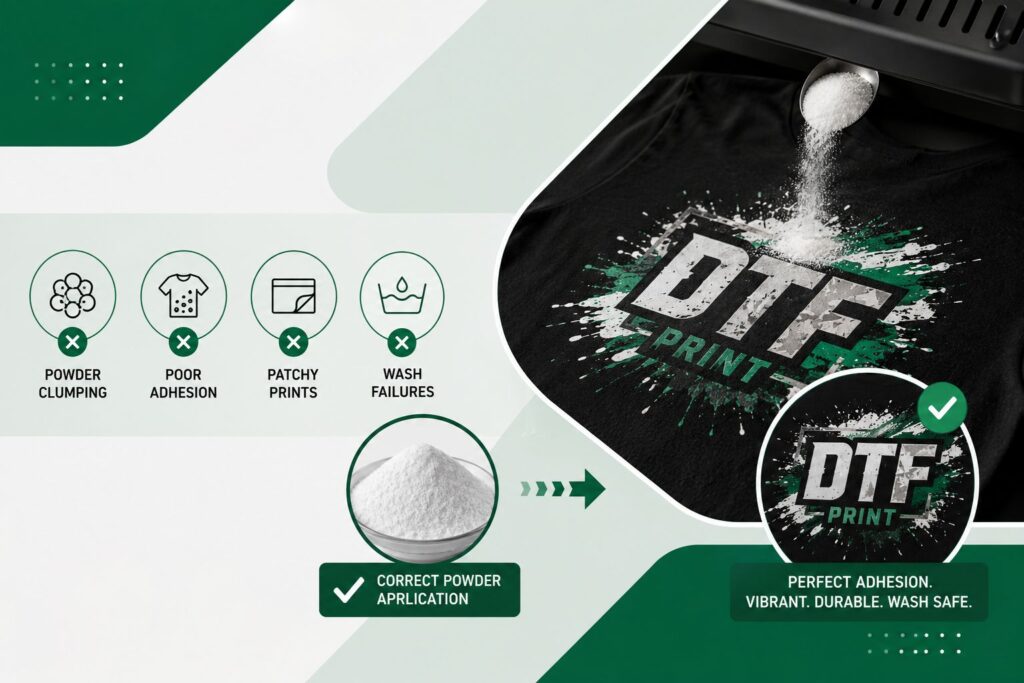
When your adhesive layer fails to form a uniform barrier, it triggers a frustrating chain reaction of production defects—from rough, sandpaper-like textures to peeling edges. Identifying these DTF adhesive powder problems early is the absolute secret to avoiding costly, time-consuming DTF printing mistakes.
The Enemies of a Perfect Bond: Clumping and Bare Spots
The single greatest threat to your powder layout is environmental climate control. Because specialized thermoplastic polyurethane (TPU) powder is highly hygroscopic, it acts like a sponge for ambient air moisture. High workspace humidity directly causes DTF adhesive powder clumping. Instead of flowing like a fine, dry flour across your wet print, the damp powder forms tiny grains and lumps. These clusters melt inconsistently during curing, resulting in an uneven adhesive layer.
Conversely, you might find DTF powder not sticking to the graphic at all. This usually occurs when ink wetness is improperly balanced, causing the printer’s white ink layer to skim over and dry out before it even reaches the powder station. To eliminate the variability of ink laydown and sudden climate shifts altogether, high-volume apparel brands frequently outsource their production to premium custom DTF transfers to ensure flawless chemical cross-linking right out of the box.
Precision Application: Eliminating the Uneven Spread
Manual operators frequently struggle with a noticeable DTF powder uneven spread. If your powdering motion is too cautious, starved spots will emerge, leaving your finished dtf transfer not sticking during the final heat press stage. However, if you apply it too heavily without thoroughly flicking away the loose granules, ghosting glue residue will bake outside your vector borders.
To step up your production quality, implement these essential DTF powder application tips into your daily shop routine:
- The Wet-Ink Window: Always coat your PET film immediately after it exits the printer while the liquid white ink layer is fully receptive to anchoring the powder particles.
- The Dynamic Wave: Pour a generous bead of powder across the top margin and cascade it down the sheet fluidly rather than shaking it sporadically over random spots. Mastering how to apply DTF powder evenly requires a smooth, continuous wave motion.
- The Mechanical Tap: Give the back of the film a firm, uniform snap to dislodge stray powder from unprinted fields before sending the sheet to cook.
For multi-design runs, consolidating your graphics into a tightly nested layout via gang sheet printing streamlines your powder distribution process, allowing you to maintain uniform powder coverage across larger print batches.
Mastering the Cure to Prevent Transfer Failures
Perfect powder distribution means nothing if your melting phase fails. Under-curing leaves raw, gritty granules that fail to fuse with the fabric fibers, while over-curing bubbles the adhesive resin and ruins its elasticity. To dial in the sweet spot between 230°F and 266°F, follow our definitive guide on how to cure DTF powder with a heat press.
Operational scaling demands strict manufacturing consistency. Whether you are running a regional fulfillment house using bulk wholesale printing or managing a discrete white label production line, standardizing your climate, storage, and handling workflow eliminates frustrating DTF transfer powder issues.
Finally, avoid crowding your individual graphics too closely together; tight spacing traps stray adhesive particles along the cutting paths. Taking the time to review common DTF gang sheet mistakes will help you optimize your layout margins, minimize DTF transfer quality issues, and secure clean, commercial-grade apparel results on every run.


Leave a Reply